So what is a a crafter to do but make one up as I go along. Luckily, I wrote some scant instructions down in case you want to copy.
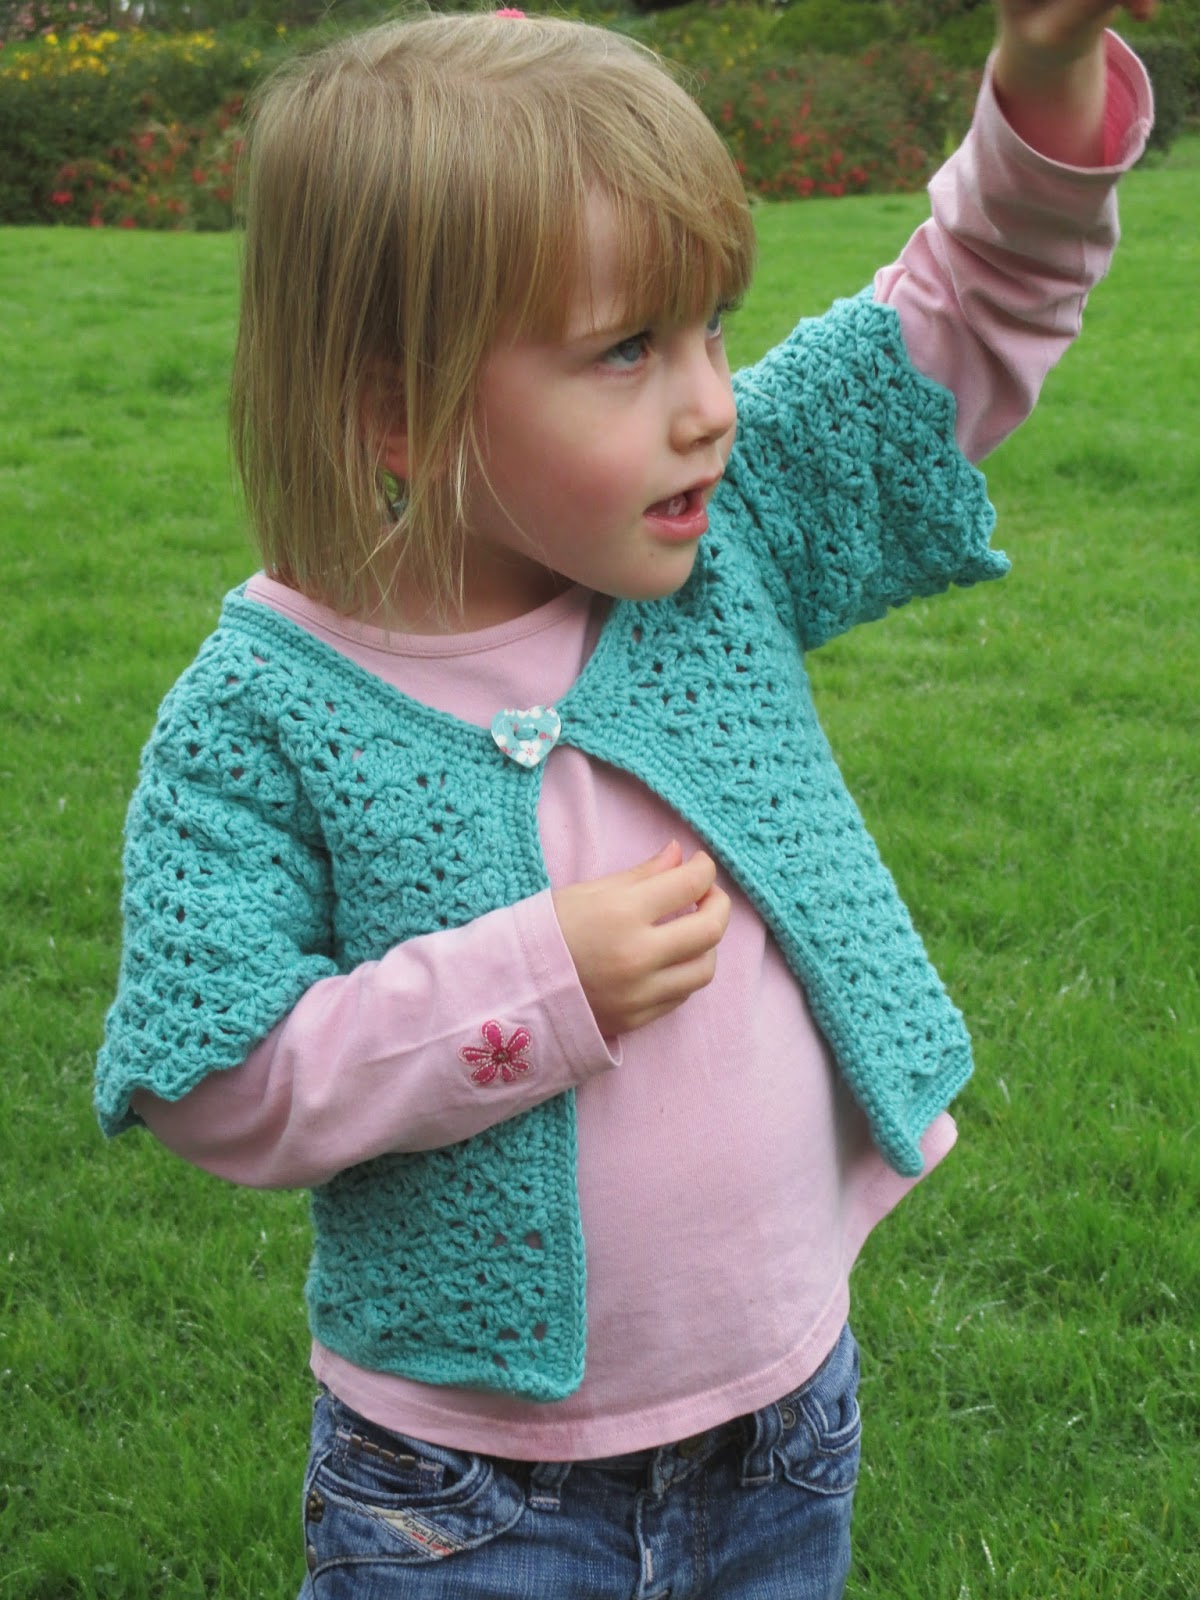
Party cardigan
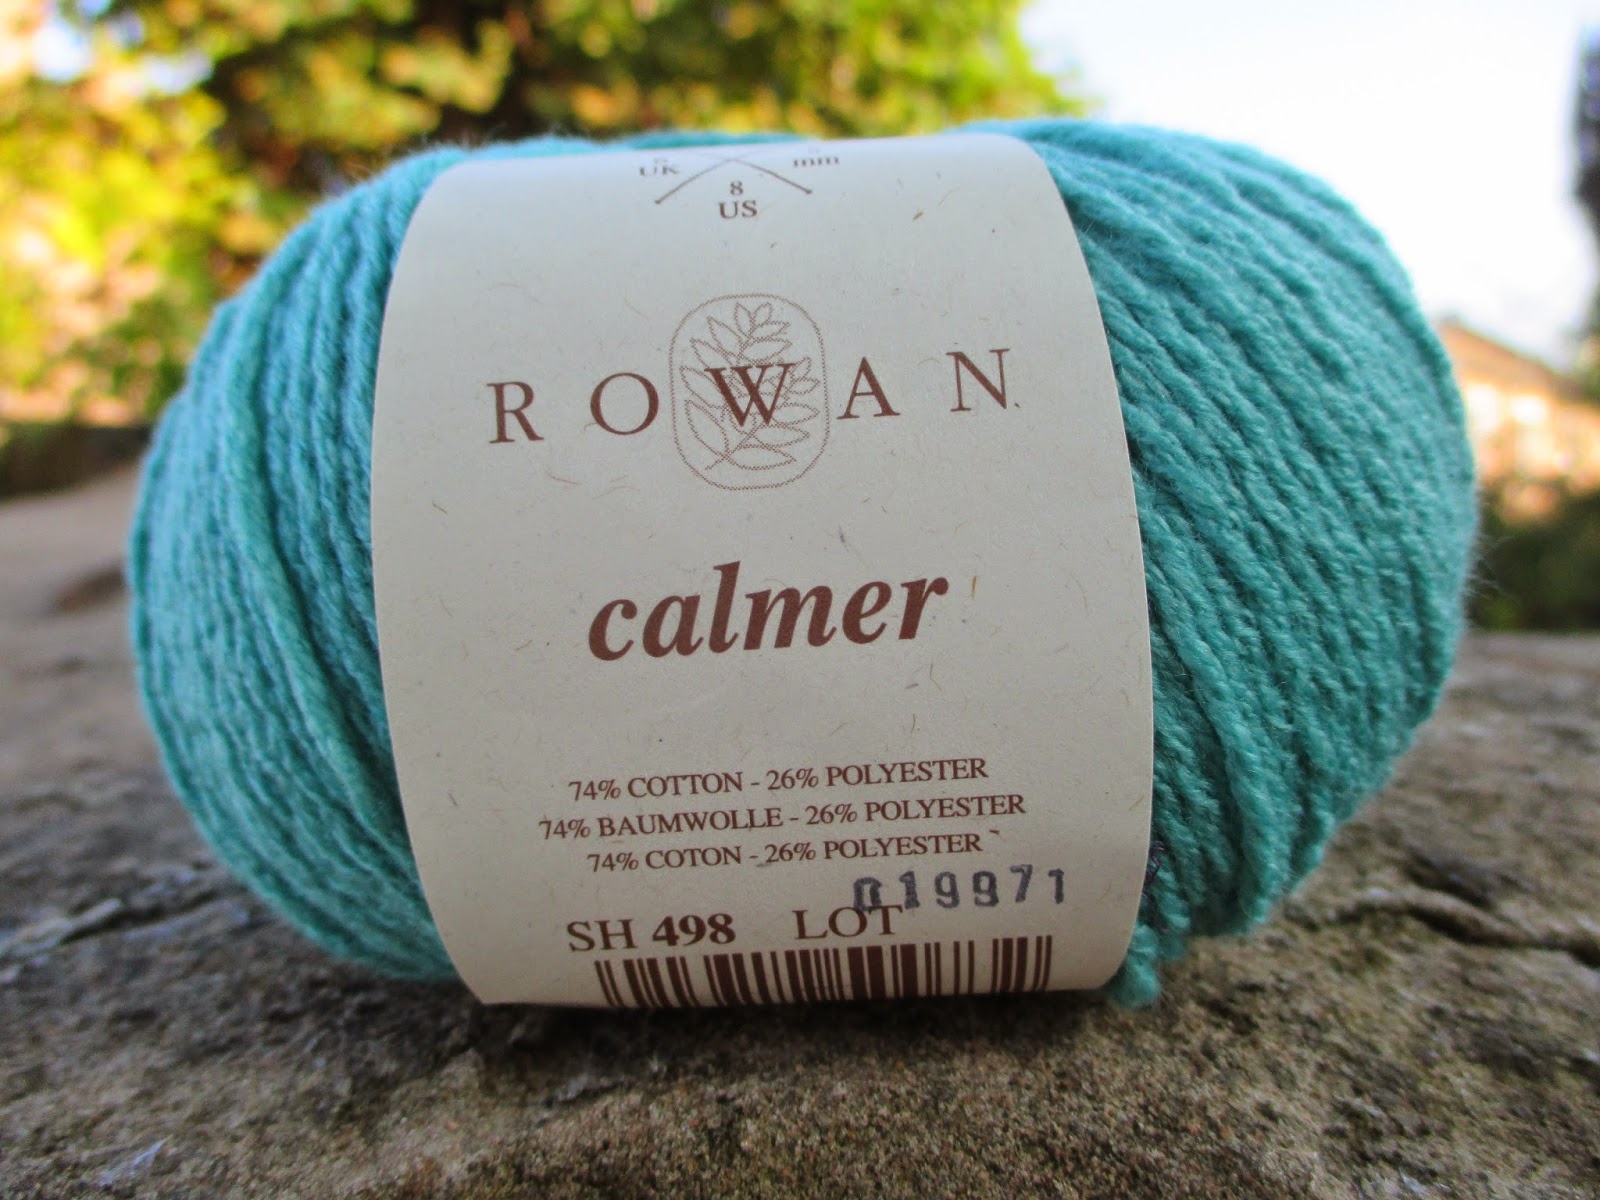
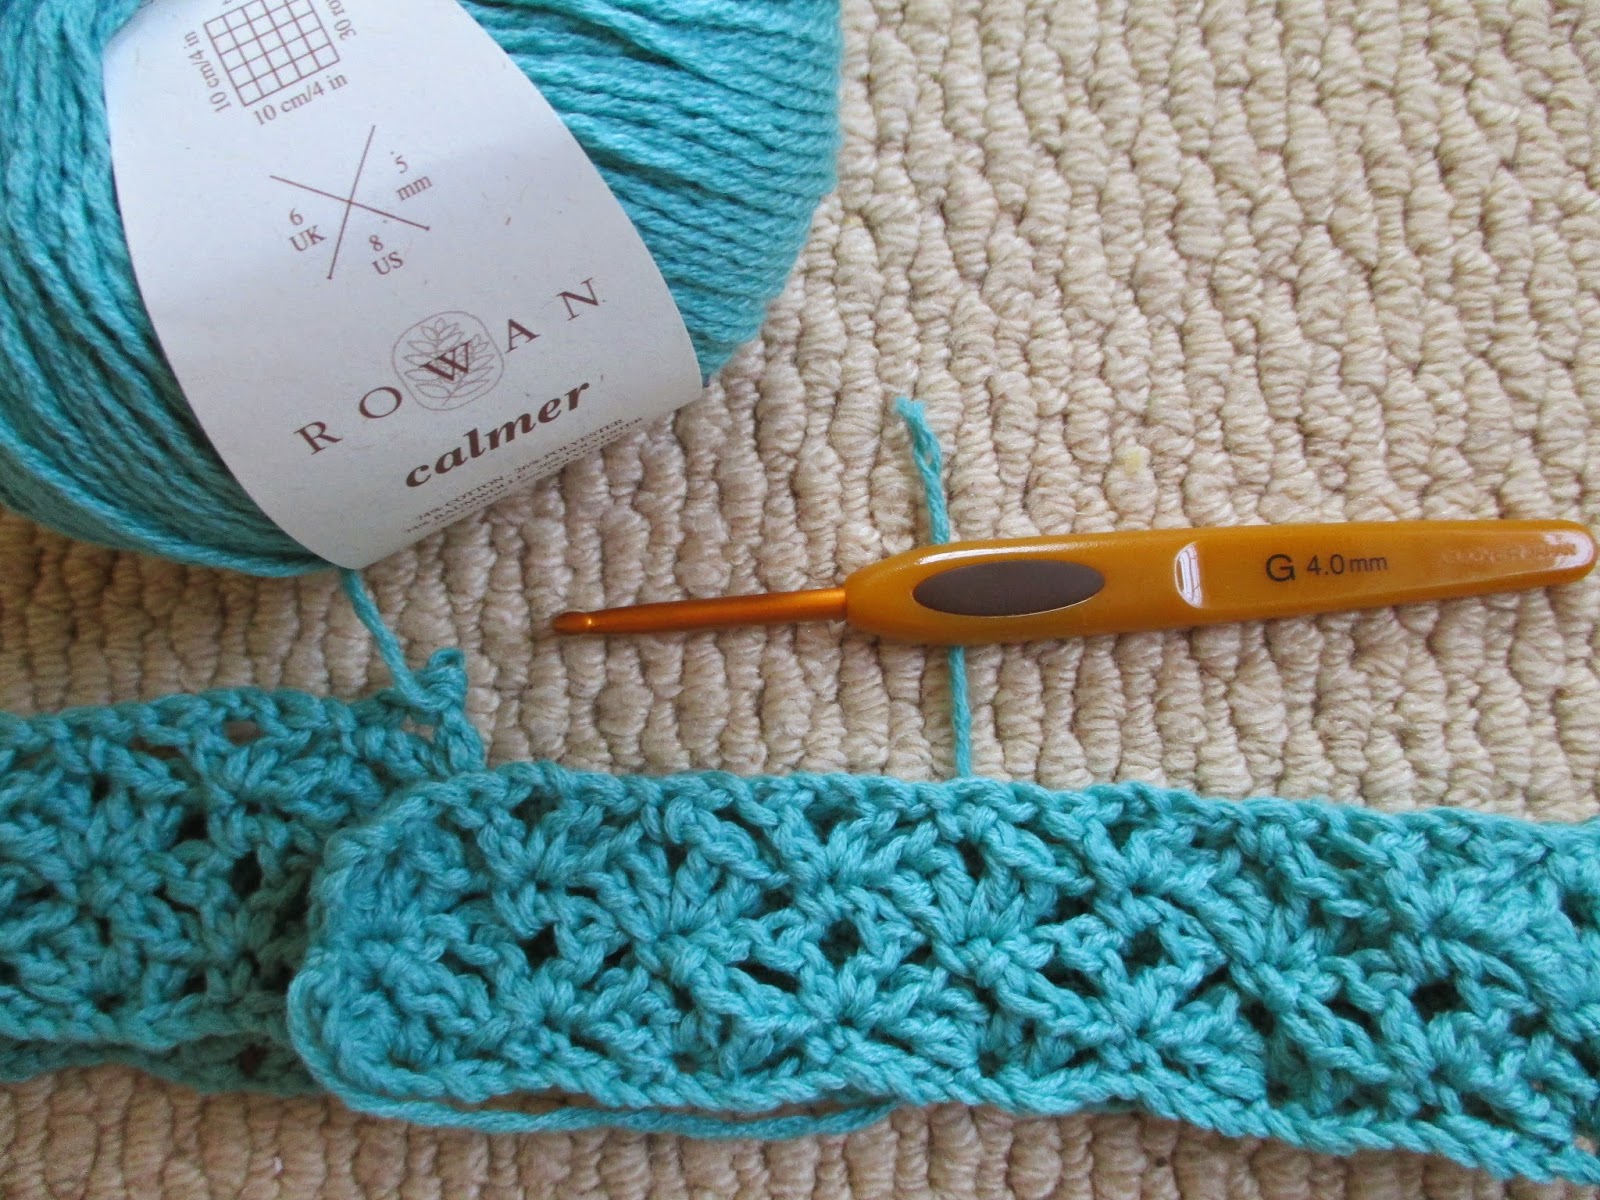
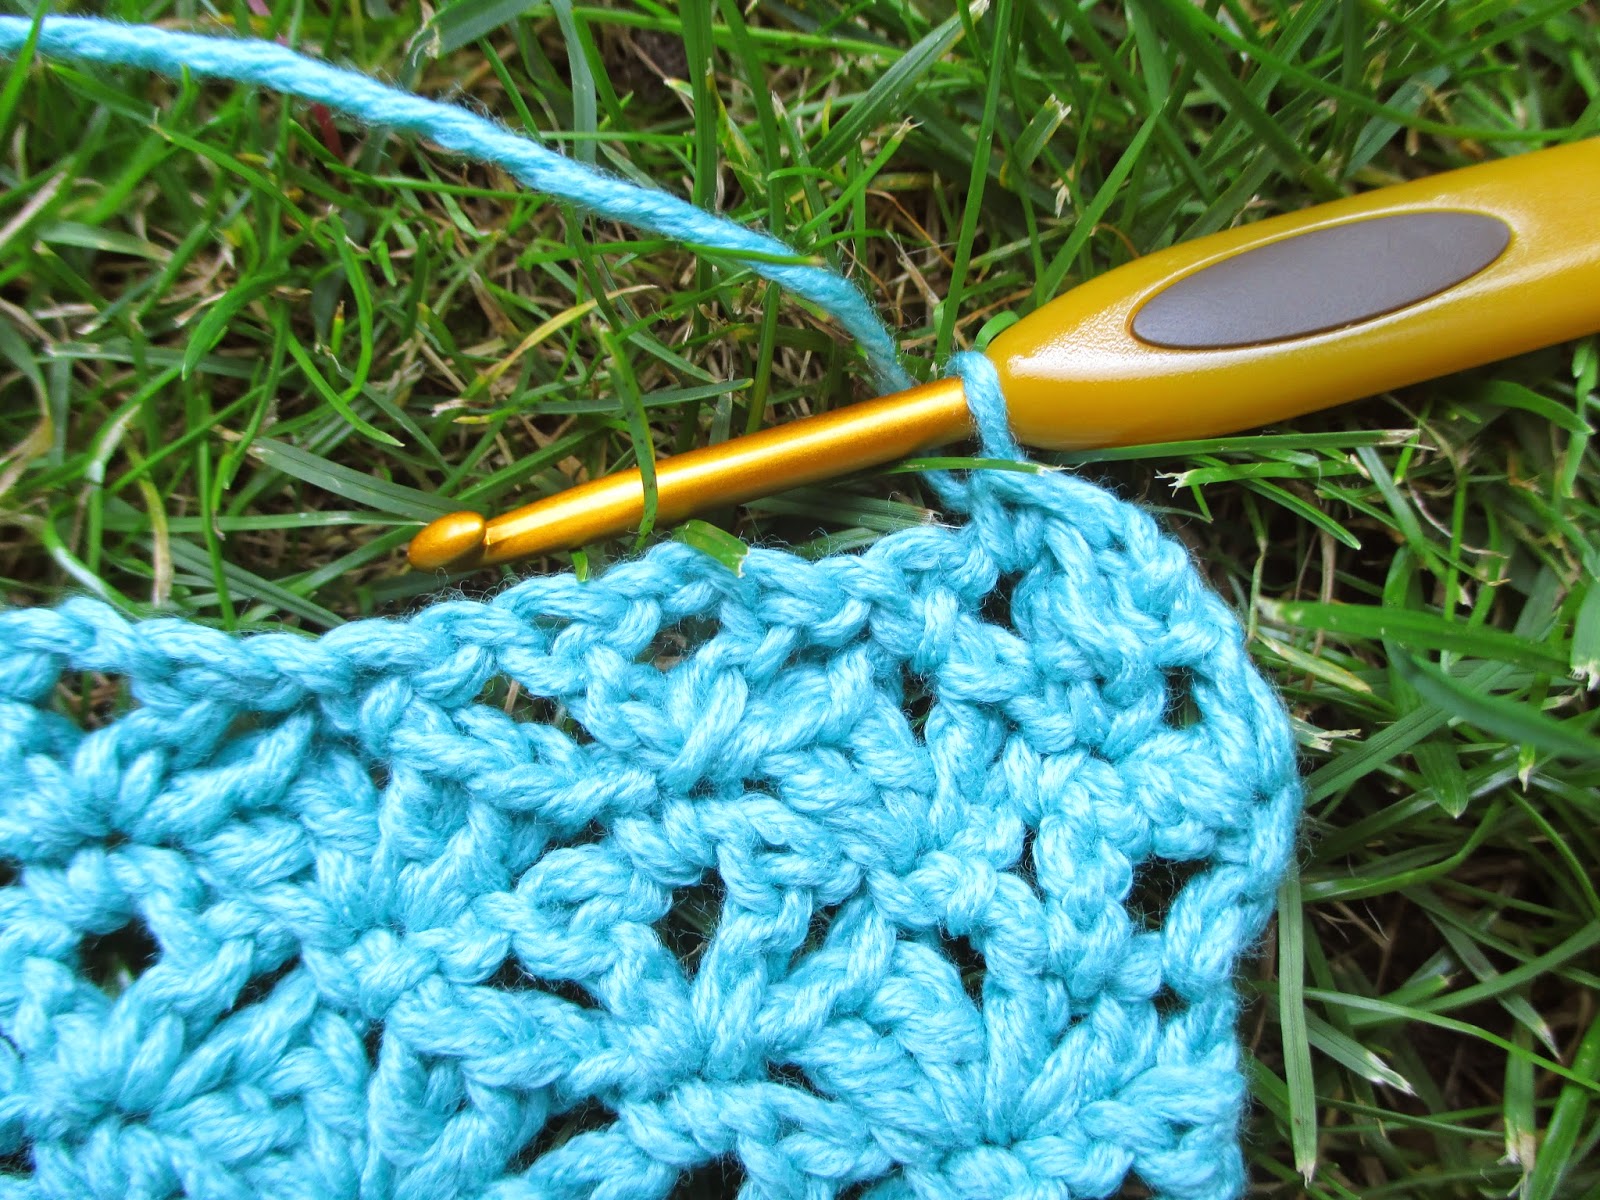
150g of DK or Rowan Calmer
4mm hook
Written in UK terms
To fit Approx aged 3-4 child
The stitch pattern is based on the V-stitch (1tr,ch2,1tr) and a double V-stitch (2tr,ch2,2tr)on alternate rows making a rather lacy but not too holey pattern.
The pattern is worked from the bottom up with no side seams. The body is worked in one piece until you split for the armpits.
You need to be able to crochet but a good beginner could tackle this.
Foundation chain: 128
Row 1:
miss 3ch, *2tr,2ch,2tr,ch1 in the next stitch. Miss 3ch, 1dc in the next stitch, ch1* repeat until you have 16 shells ending with a treble in the in the last stitch. Turn.
Row 2:
*Ch1, 1dc in the 2ch space of the V, ch1, 2tr,ch2,2tr in the dc from previous row, ch1* repeat to end. Complete the last double V stitch and treble in the last stitch.
Check your double v-stitch are above each other and your skinnier single V-stitch are above each other as you continue.
Continue working until the body measures 6 to 7 inches or required length from hip to lower armhole. Measure up against your child's best fitting cardigan or indeed your child!
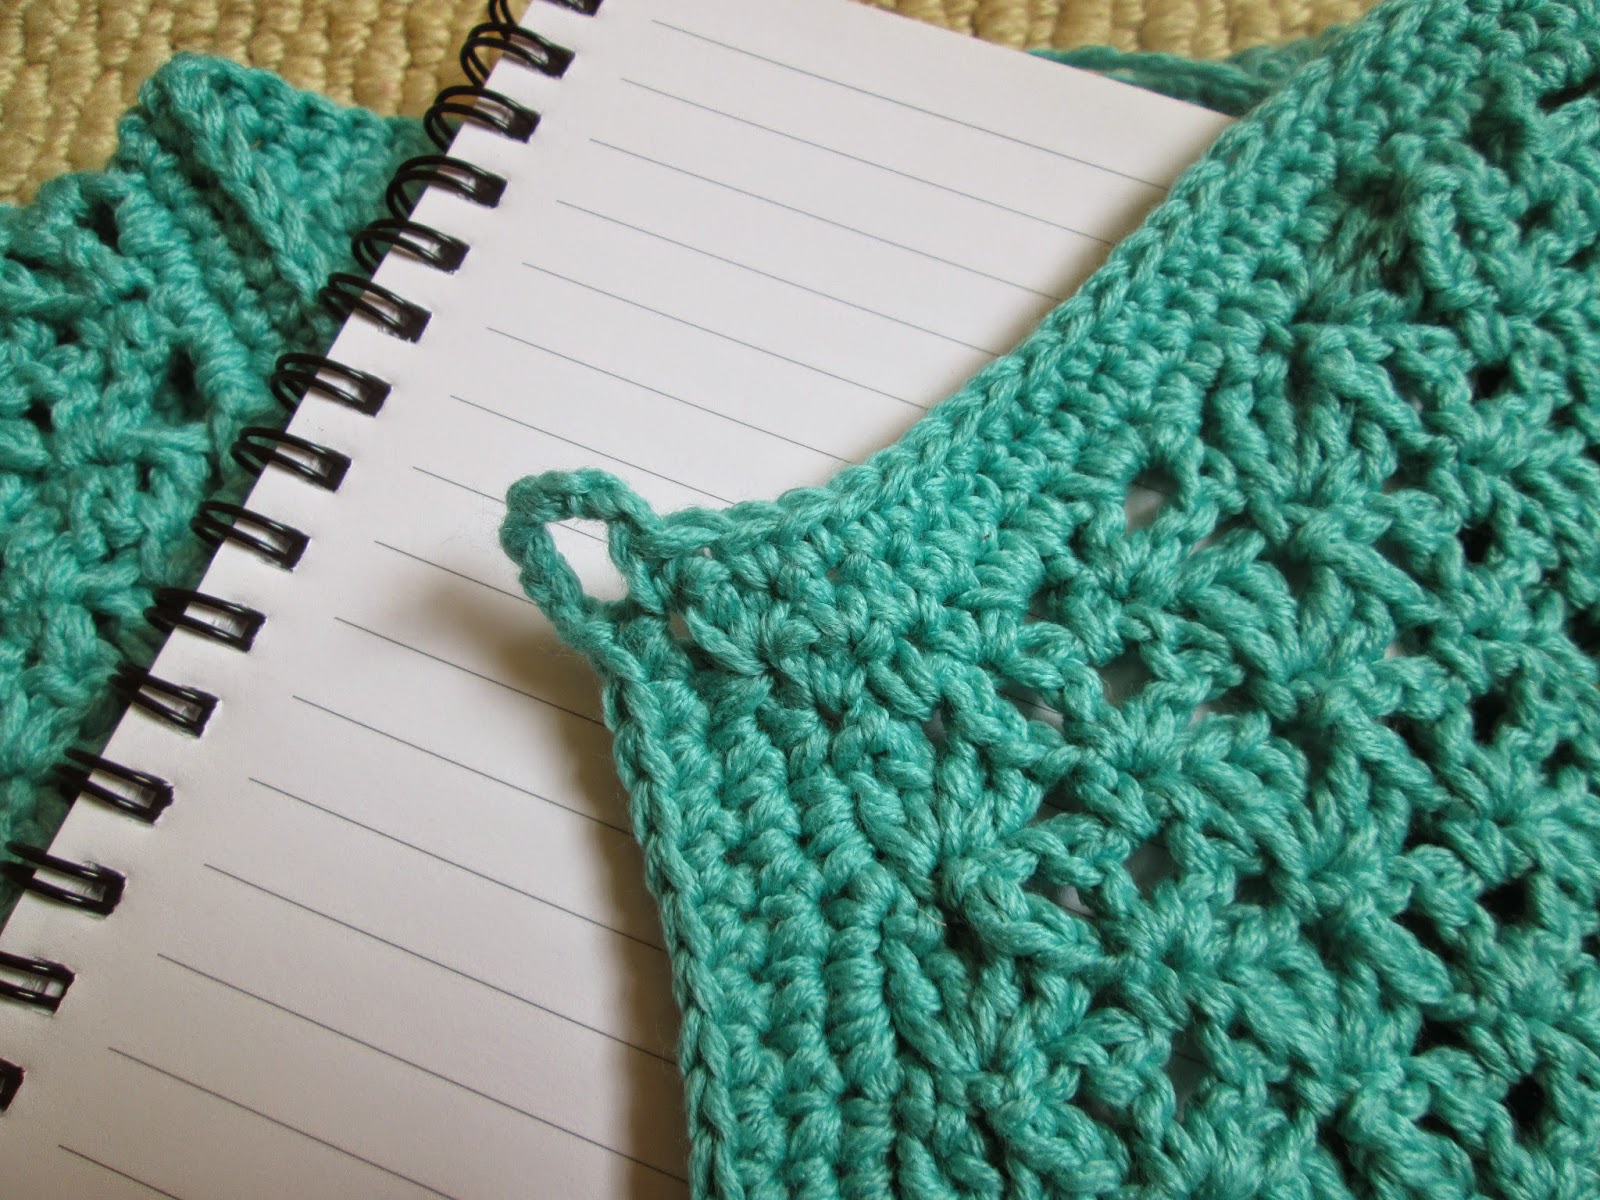
To ensure a straight edge please note the following:
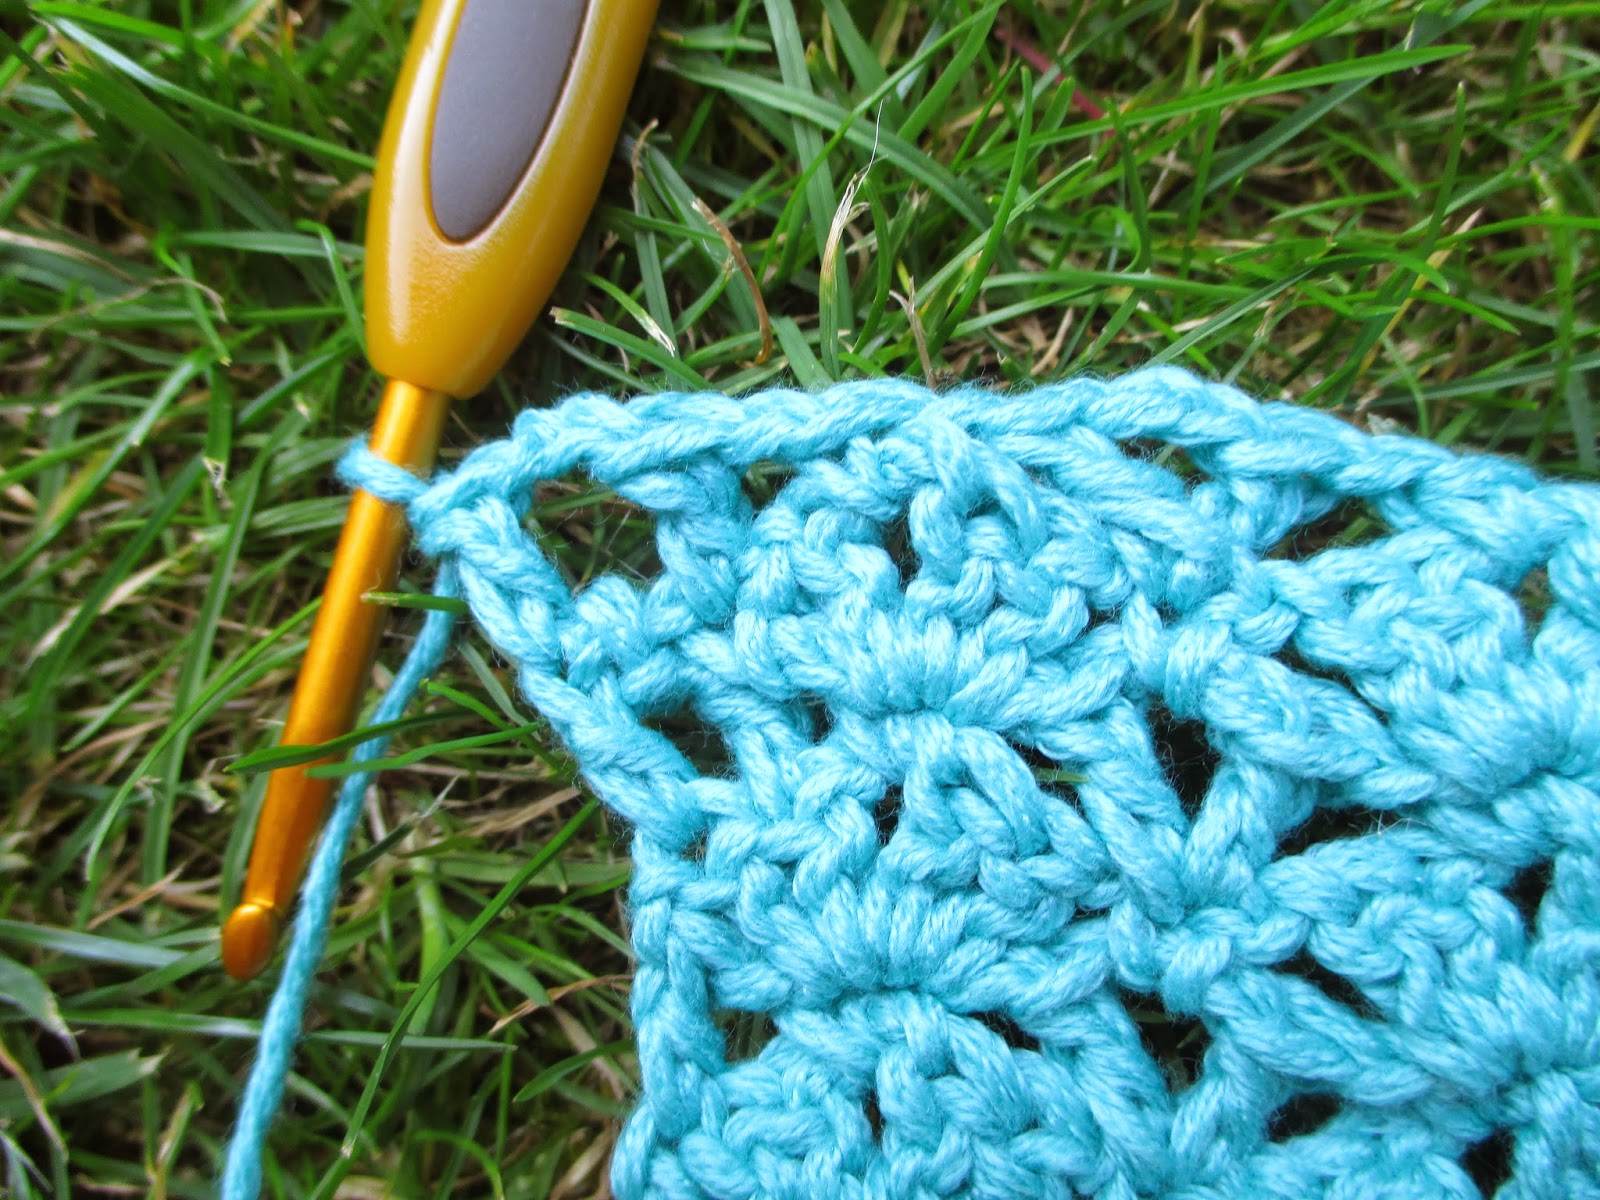
Now as you turn onto the right side to do the double V-stitch row do 1ch and 1dc into the the 2ch space (the top of the V)then ch1 and continue in double V-stitch into each dc as set out. Do you see how it nips it back into line instead of it sticking out?
Count 4 shells and place a marker in the dc, Count 8 shells and pm in dc.
Working on the right side of the cardigan work 6 rows in pattern keeping the sides straight. End on a double V -stitch row.
7th row
Decrease row: ss in first 2tr, 1dc, 1ch v-st in next dc and continue patterning to the end of this front. 1tr in the last 2ch space.
8th row
ch1, work 3 shells, ch1, 1dc, 1tr in top of the v-st below.
Rows 9-12
work 4 rows on these 3 shells in pattern.
Rows 13-15
Decrease again using the SS twice in the first 2 trebles and work 3 rows on two shells.
Row 16
3ch, dc in next 2ch space of shell, ch1, 1tr,2ch,1tr,1ch,dc in 2ch space, ch1,1tr,2ch,1tr, 1tr in last stitch.
Row 17
ch1, 1dc, 2V-st, 1 tr in last stitch.
Row 18
ch1,2 double v-st, 1tr in lat stitch.
Straighten shoulder
ch1, 1dc in 2 ch space, ch2, 1dc in next dc, ch2, 1dc in next dc, 1dc in last stitch.

Now rejoin yarn with right side facing and repeat for the other side starting with the decrease of 2 ss first.
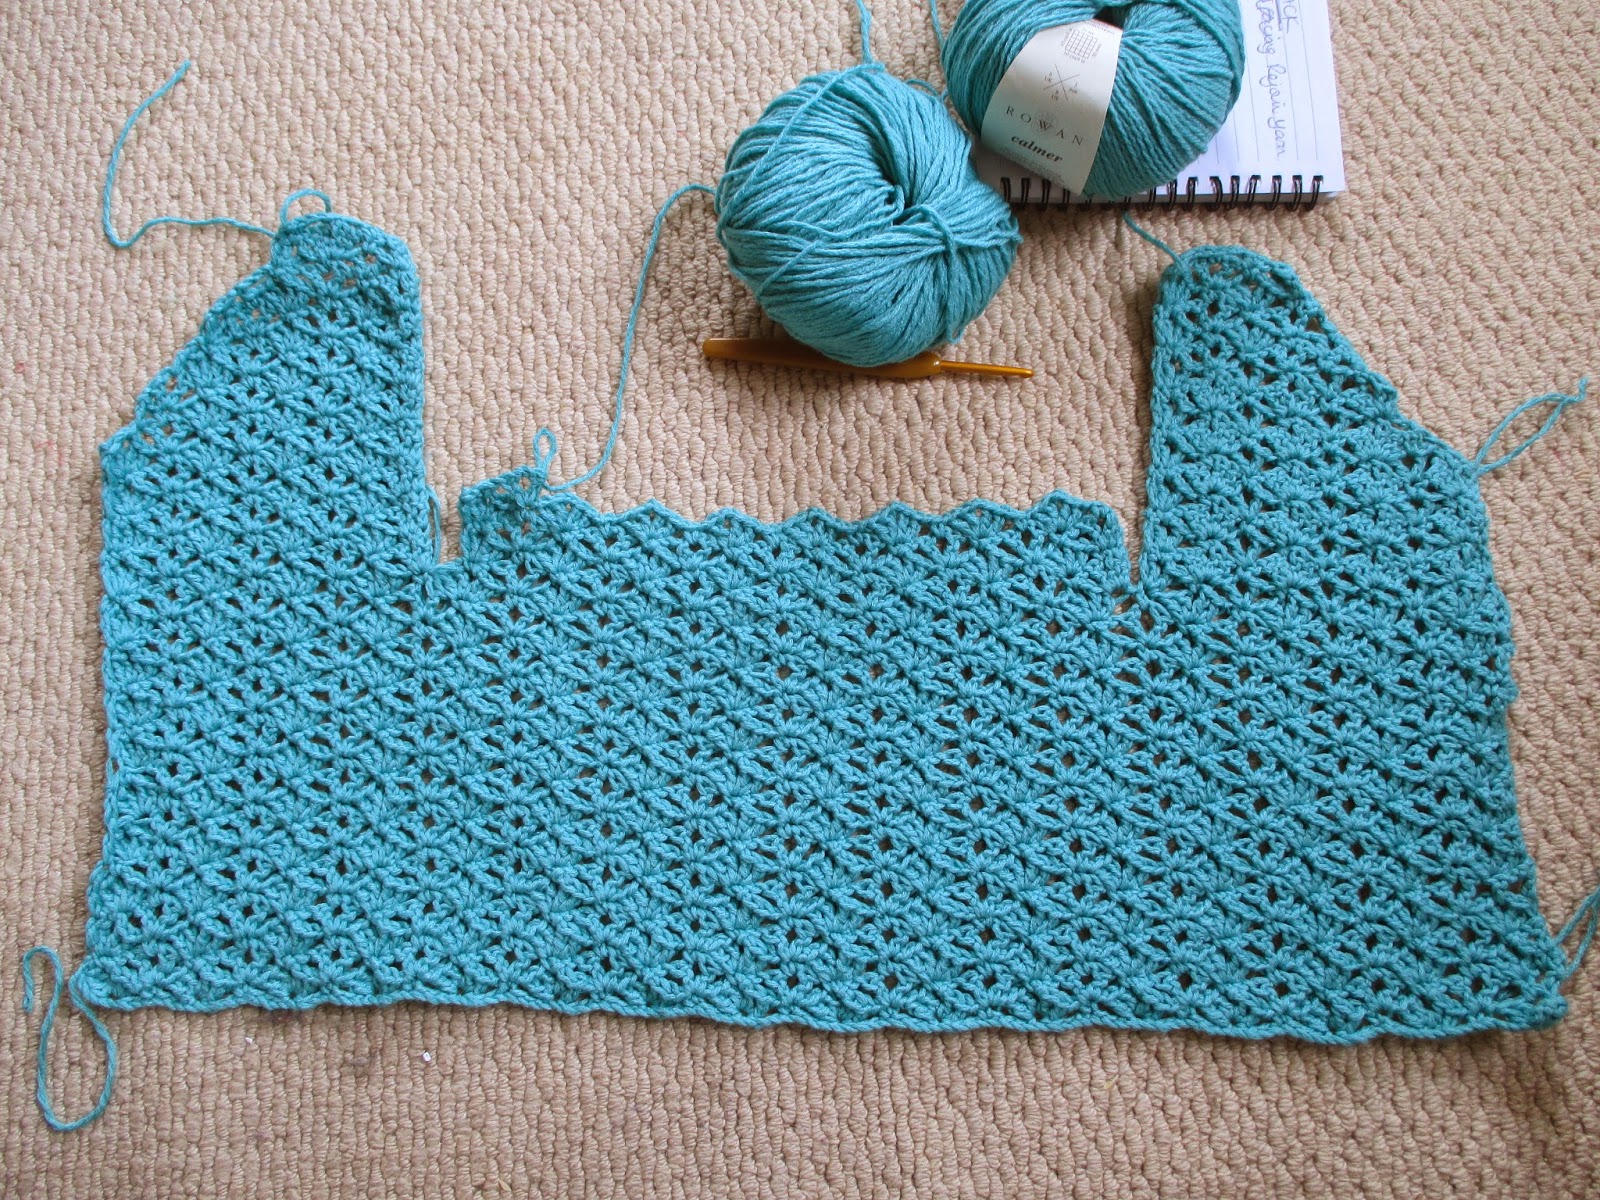
Rejoin yarn to back section and work in pattern until the back measures the same as the height of the the armhole. NOTE: ensure you rejoin so that your work does not get front and back mixed up.
Sleeves
Foundation row: ch 63
Using the instructions from Row 1 and row 2 work 13 rows for the sleeve.(more or less if you wish) You should be working on 8 shells and this should fit into the armhole space.make your last row a double V-stitch row to get the scalloped edge.
Sew armholes into place
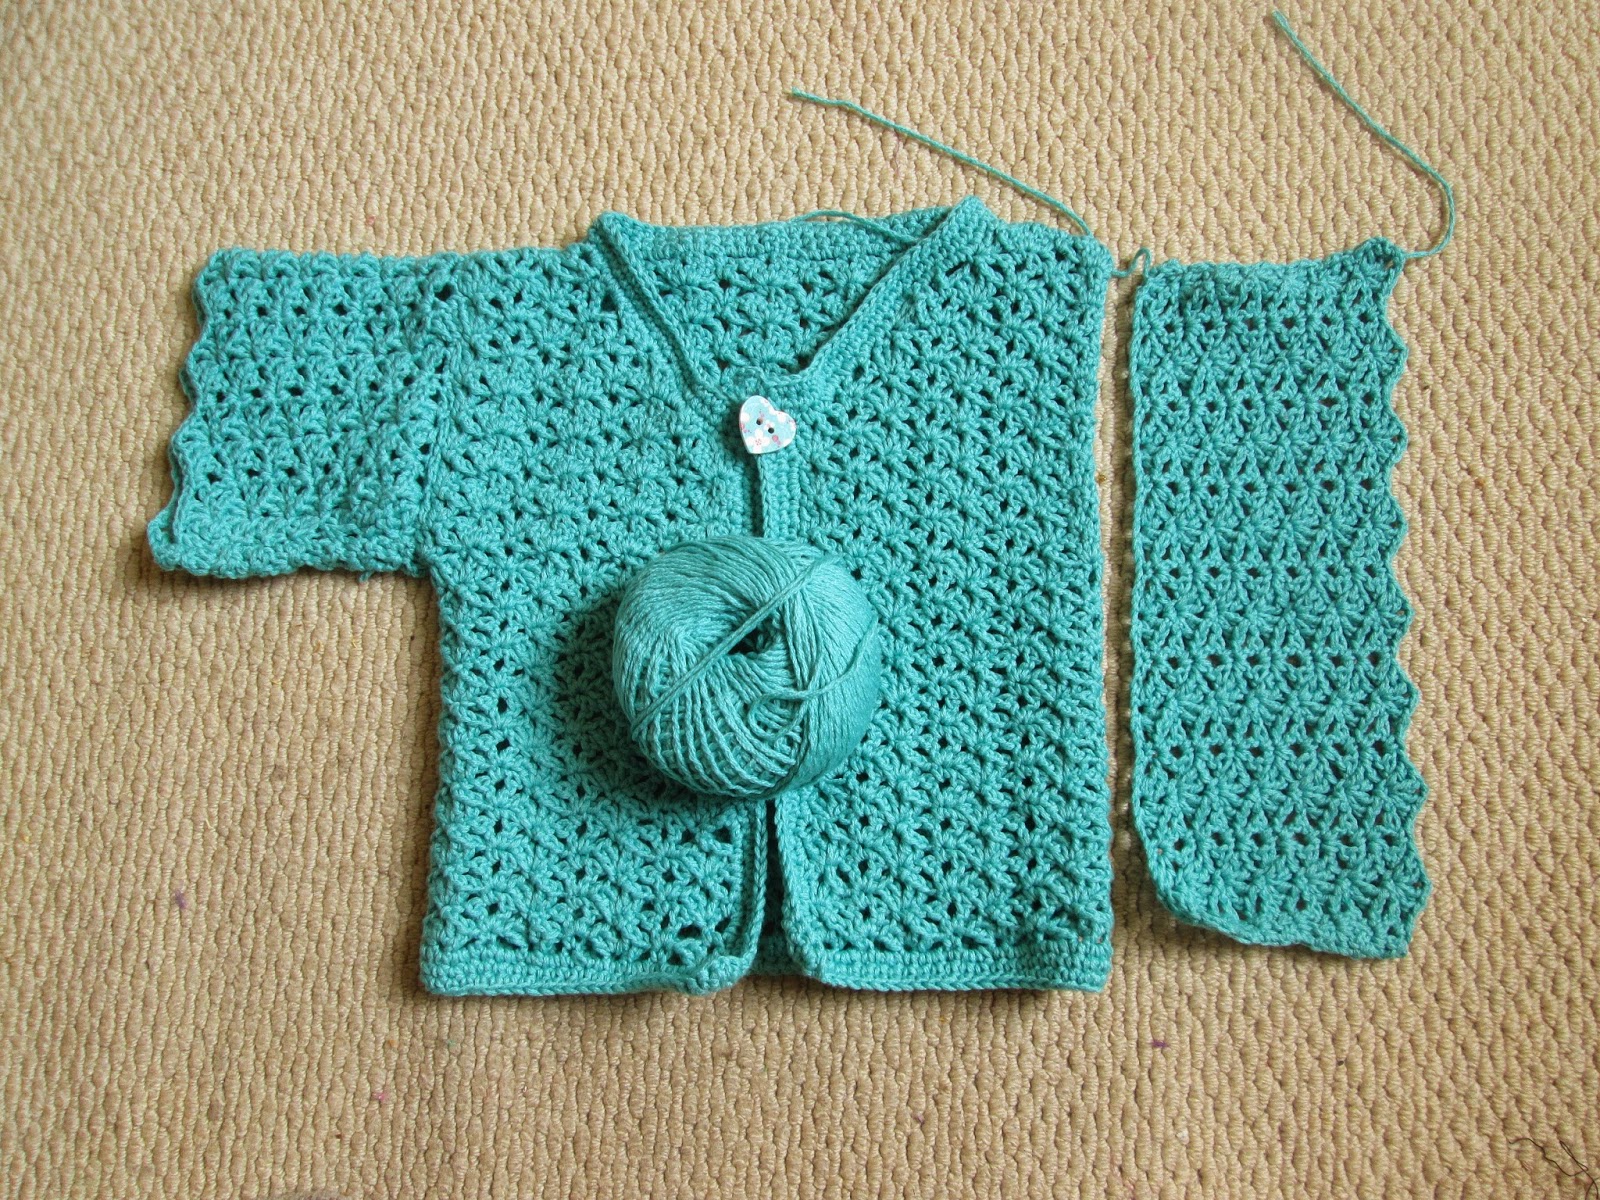
Border
Starting at the centre back of the neck, evenly dc around the entire edge for three rows. At the corners make (2dc, 1ch, 2dc)to ensure corners lie flat. On the final row make a button loop of about 6 chains (depending on button size)then continue around to the centre back to fasten off and weave in ends.
Wear with a party dress or over a long sleeved t-shirt for casual wear. Any errors please comment below. It is really more of a recipe than a stitch by stitch pattern. Enjoy!


Thanks for stopping by. Jo xx
You clever thing you! Little M looks absolutely gorgeous in it x Jane
ReplyDeleteVery impressive, I love the shape and the colour, your little one looks adorable.
ReplyDeleteIt's adorable, Jo. Thank you for the tutorial!
ReplyDeleteAww it's so cute, you clever lady.
ReplyDeleteClare x
Wow, I cannot believe you just whipped this up, I am horrible at creating all by myself, I am a follower I am afraid. Love your sweet little model.
ReplyDeleteHugs,
Meredith
It's lovely, thank you for sharing the how to. :)
ReplyDeleteIt is so pretty Jo!! I love the idea of your instructions being more of a recipe than a pattern, I have shied away from sharing things because of being unable to write a full pattern, but this is such a good idea! How clever of you to make this up and figure it out by yourself as well!!! xx
ReplyDeleteI can't believe you just made that up in your head!! It's gorgeous, you are so clever. And your model is very pretty too. x
ReplyDeleteit's so cute, very impressive, I love the motif and the colour,
ReplyDeleteThat is absolutely adorable, and I love the color on her. xxoo
ReplyDeleteThis is so pretty. You make me want to crotchet.
ReplyDeleteGorgeous! You are too clever! How do you just make up a pattern in your head. I struggle to read them ;) Bee xx
ReplyDeletethank you for sharing I have 3 granddaughters I will be making this ,just adorable
ReplyDelete